Catching Up
In this Third entry in “Device42’s Ultimate Guide to Migration Planning,” we’ll be covering Migration Preparation & Solution Design. We hope you’ve enjoyed reading our first two entries [Part 1: “Readiness Assessment & Creation of the Pre-Migration Plan” and Part 2: “Migration Project Planning”], but if you’re new to the series, those two links will take you to their respective articles.
Last, for those catching up, here’s a link to the Migration Roadmap Infographic. It visually lays out the migration process, from migration project planning through execution, and also serves as an overview of the migration project planning series.

Introduction
Migration Preparation and Solution Design is a very important step in the overall Migration process and it’s the very last planning step before the actual migration itself. Therefore, it must be executed both with extreme caution and attention to detail.
Migration Prep & Solution Design will discuss the following steps:
- Gathering a detailed assessment of your current data center
- Using the assessment to map dependencies for all applications involved in the migration
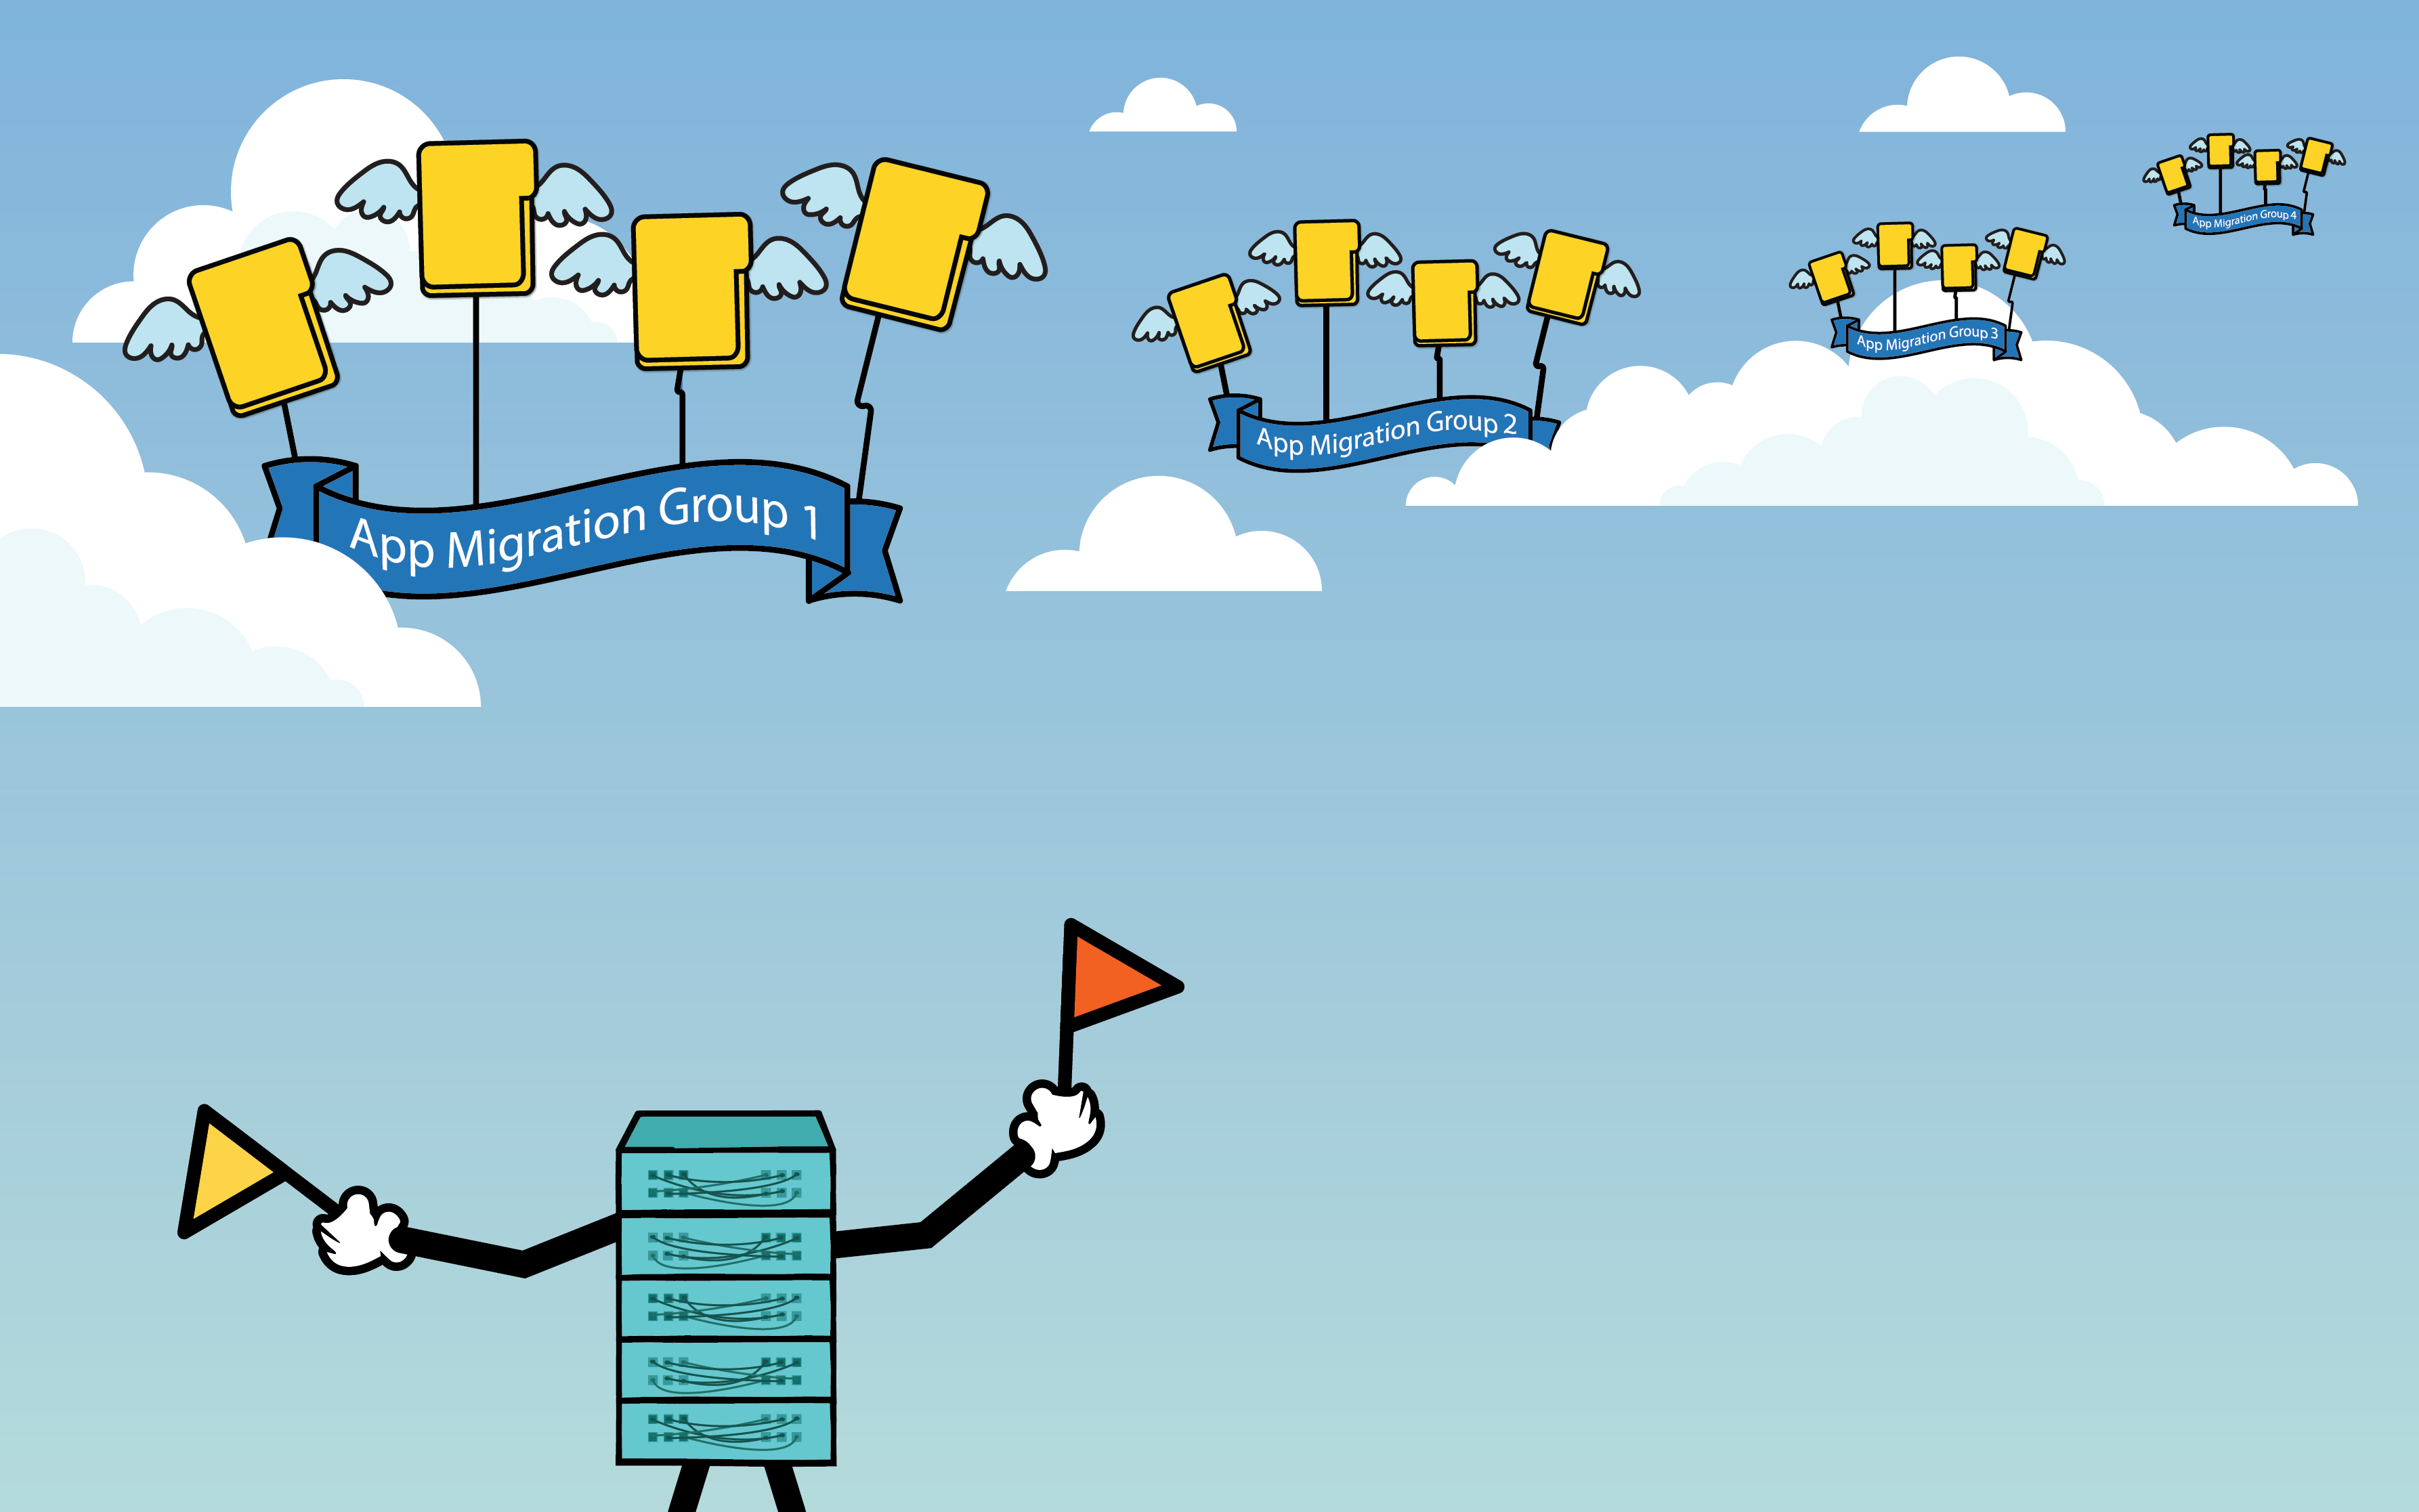
- Breaking up the migration into smaller logical units, or ‘migration groups’
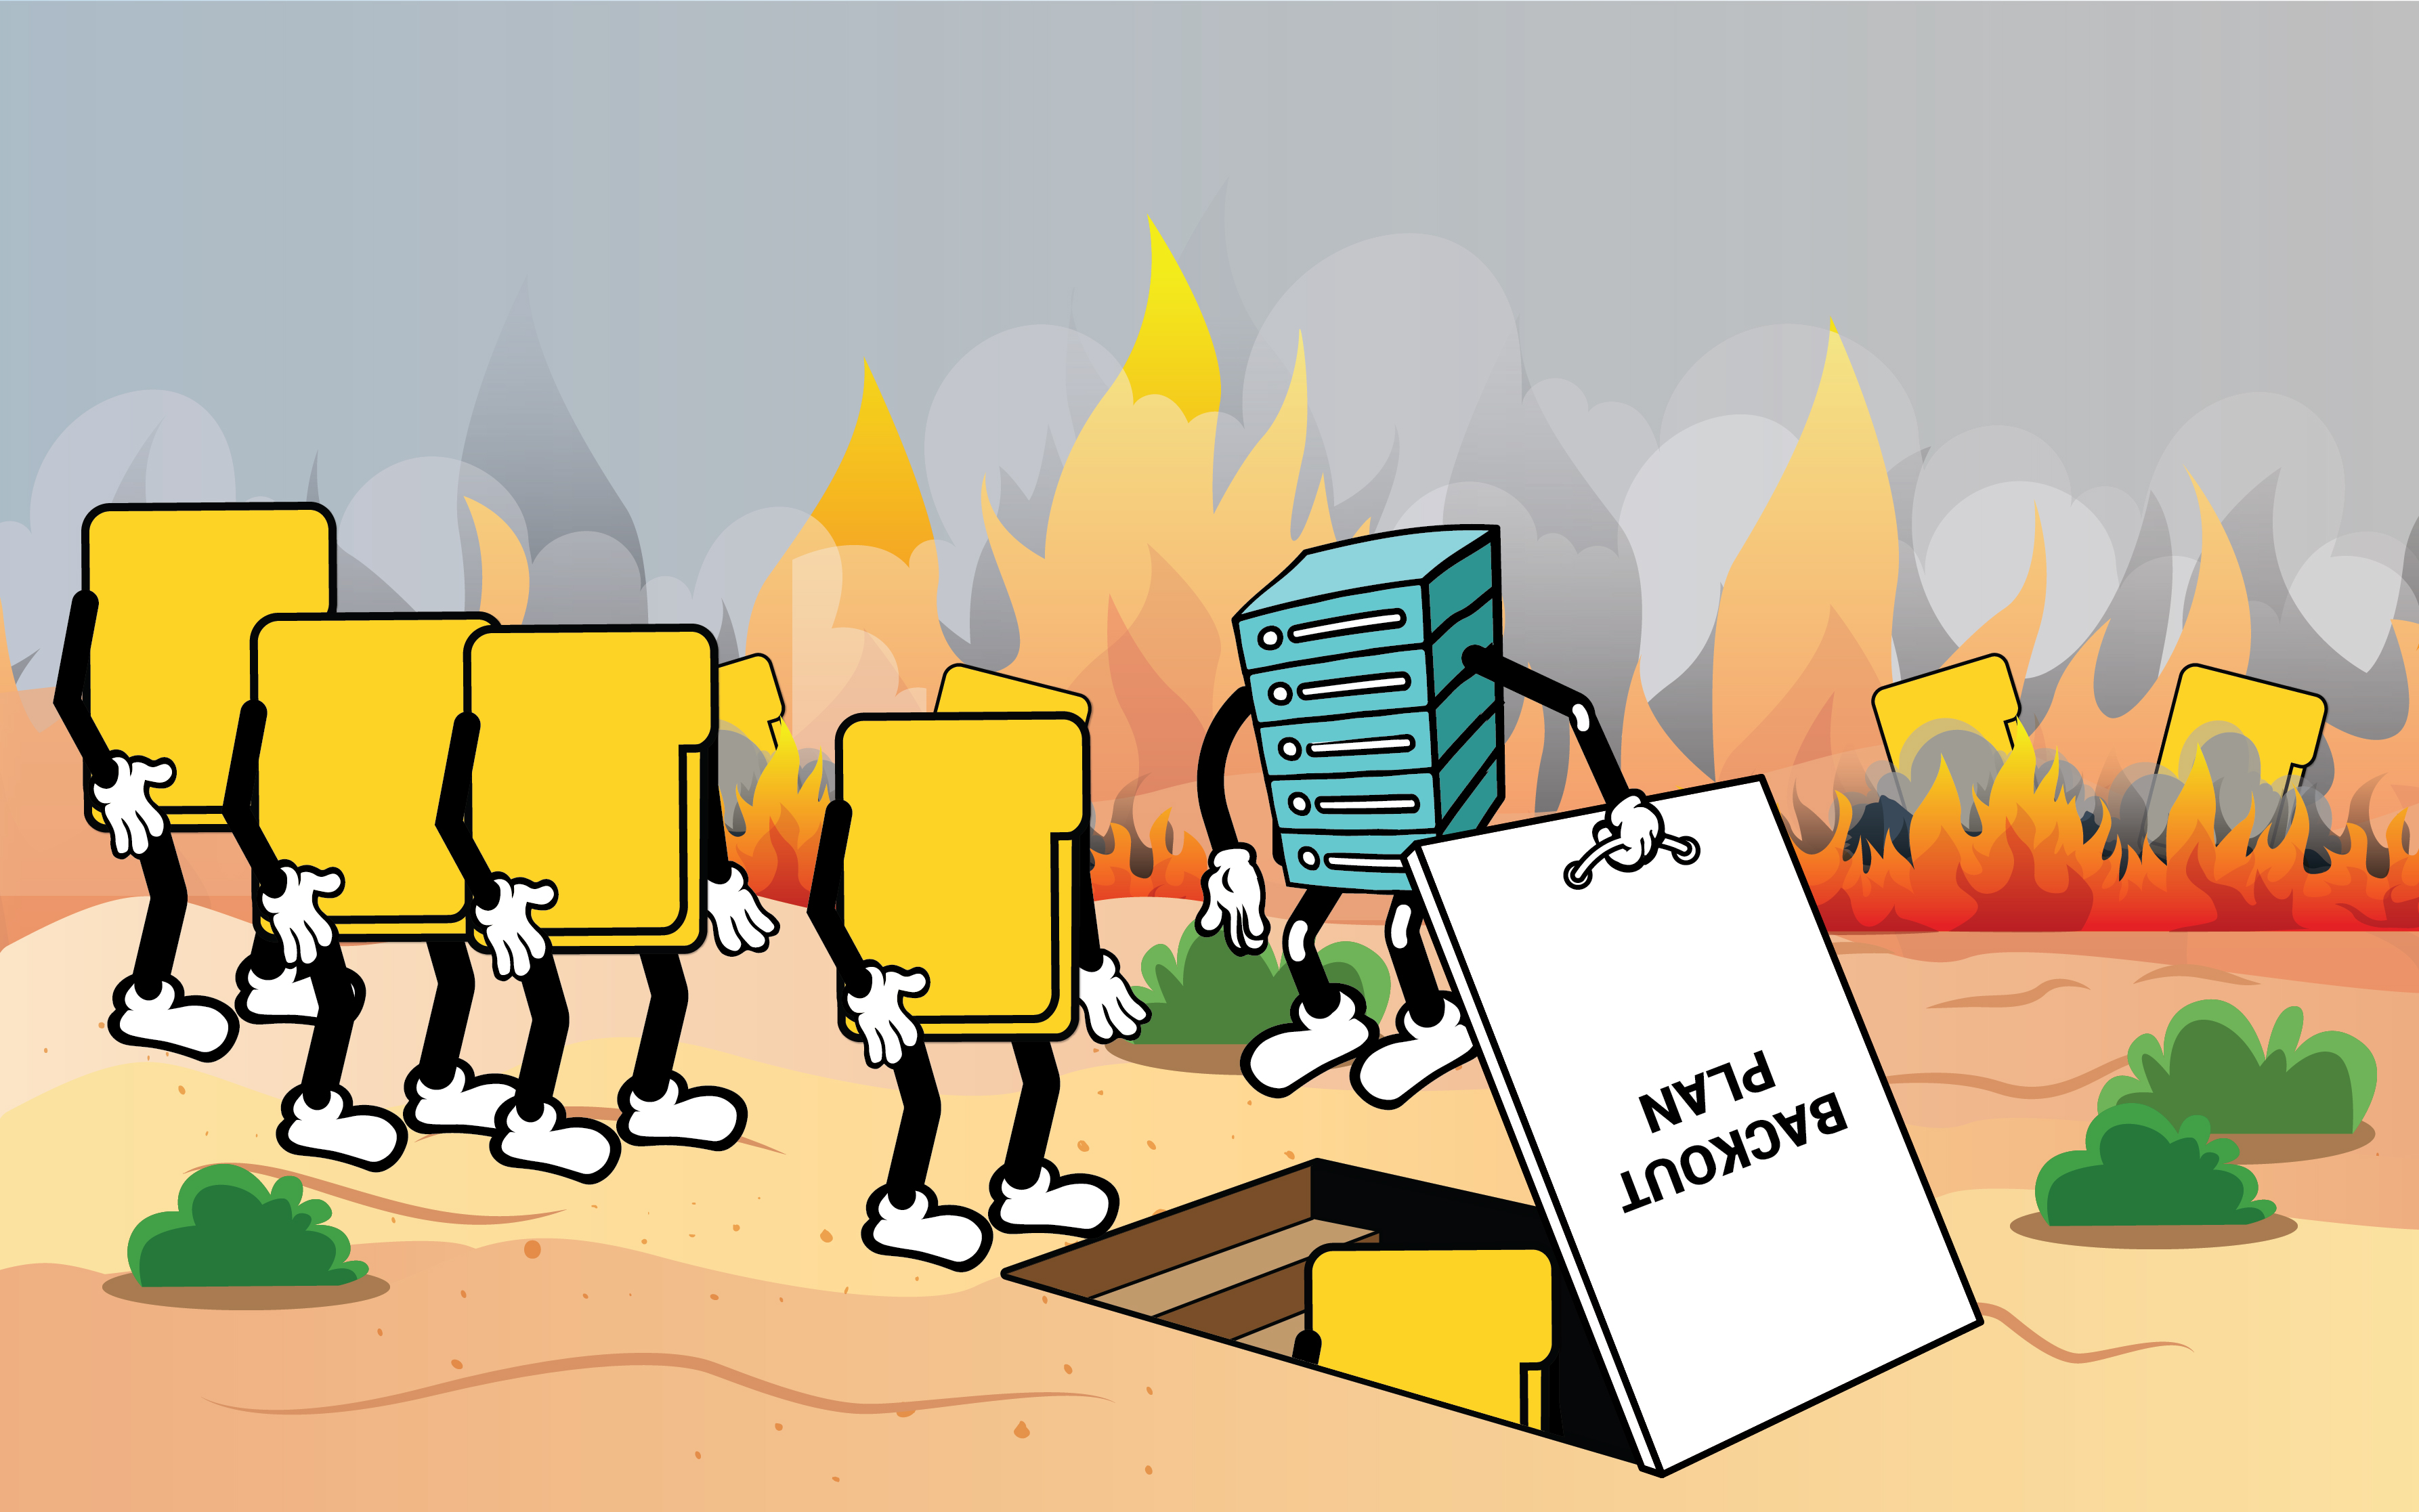
- Ensuring a proper back out plan exists for each identified migration group
- Finalizing SLA’s, setting the standards for go/no-go calls, and defining the criteria that triggers a back out
- Making all hardware and software purchases and finalizing vendor agreements [both for assets and for labor]
- Performance of pre-Migration testing and simulations of processes, procedures, and migration targets
When all the above are complete, the only major thing left to do will be execute the actual migration. This step may in fact take more time than either of the previous two steps, and that’s perfectly OK.
Assess Your Current Data Center in Detail
The requirements that were defined during the last stage of planning [“Part 2: Project Planning – ‘Define the Hardware & Software Requirements’”] should make a good starting point for this task. Those requirements should have been based on real data, which is hopefully close to correct.
You should have been able to capture most of your IT assets when you ran discovery with your CMDB-type documentation tool. However, IT Departments often support systems that aren’t officially on the books. These components must also be identified. This includes the servers that live under engineer’s desks that ‘temporarily’ became part of production, and all the other secret databases, servers, and software that are rarely talked about but nonetheless depended upon by someone, somewhere. Verify counts of the known IT Assets, combine all the figures, and then double check to ensure they all make sense.
(Though this can be a lot of work, you can consider automating most of it with a comprehensive discovery tool like Device42. A good starting point is to run discovery against the non-production network segments that were found to be hosting one or more of the off the books services.)
When finished, you’ll have a list of all hardware, software, network equipment, storage devices, air and cooling systems and their specifications, CRAC’s, power-related equipment like UPS’s and PDU’s, application components, and the applications they support. The specifics and correctness of this data will be critical to the next step – dependency mapping.
Map Application Dependencies for Target Apps
“Target Apps” refers to both applications that are part of the migration as well as any applications that will be affected by the migration. For example, if two applications share a database, and one application & the database are moving, both applications need to be listed and mapped as dependent upon that database.
The migration plan will need to include not only the steps required to move application #1 and its database, but also the steps to shut down application #2 while the shared database is being migrated. Add to this the steps to be performed to re-connect app #2 to the database’s new location, the steps required to bring app #1 up in its new location as well.
Be very vigilant documenting these details in your CMDB and ensure you don’t forget to run discovery against any involved network segments. Any overlooked dependencies at this stage can cause systems that weren’t listed as ‘involved’ in the migration to go unexpectedly offline. This is especially true in virtualized environments where a single server can support for tens or hundreds of vms.
The latest generation of CMDB’s [Device42, BMC, ServiceNow, and others] can identify dependencies in your environment as your infrastructure and the connections between it are auto-discovered. As such, your CMDB’s dependency mapping functionality should prove extremely helpful. (See Device42’s Application Topology / Dependency Mapping page for a good example.) The next planning step uses this data to produce groups of servers and associated hardware that share dependencies.
Use Dependency Info To Create Migration Groups

A “migration group” (or ‘move group’ ) is a group of one or more applications and the hardware and dependencies supporting that application. Any affected server and its services need to be considered when creating a given move group.
Begin by choosing a target application for migration and identify the server or group of servers responsible for hosting it. Next, identify its network connectivity and the switches used by the hardware, the power connections and UPS’s, the shared storage. If shared storage is utilized, mapping out shared storage utilization is a great technique to create move groups.
A common configuration is for a group of N virtual servers to share Y physical servers, all sharing redundant storage array X. Therefore, all the virtual servers depend on the physical servers, and all the physical depend on the storage.
Dependencies and their commonalities will dictate the smallest possible groups as well as the makeup of the larger groups. Once that list is made, if there is anything else left in the rack you are free to add it to the same group or start anew. Progress down the dependency chain, identifying servers that share the same network switches as the current group, and then possibly those that share power, and so on.
Keep an eye out for any applications that aren’t supposed to be migrating,. Your plan will have to include pre-migration steps or at least pre-move steps that re-locate the identified hardware, servers, services, or applications before the move commences.
Create SLA’s & a Back Out Plan for Each Migration Group
Now that you’ve fit each application into a migration group, it’s time to consider the ramifications of a failure. Identify applications that are and are not business critical, and those failure modes which are “fatal” vs. temporary, and steps to resolve and back out each. Designate someone to make the final call of go or no-go for each migration group. There can be no arguments on migration day. The designated resource will have full authority and final call to initiate the rollback plan, so make sure criteria for success is very clearly planned.

Consider the true importance of both non-critical applications and applications that run only during business hours. Everything can tolerate some degree of downtime: figure out how much and when.
Gather existing SLA’s In many cases the criteria that puts a back out plan into motion can be as simple as SLA – time taken so far to migrate – time to execute back out plan, or even more simply put, SLA – time to execute back out plan = Move SLA, e.g. the amount of time you have in which to migrate.
Lastly, it also needs to be determined whether the failure of one or more move groups is so critical so as to cause the entire migration’s roll back plan to be initiated. No one outside your organization can help with this step – only you can make these determinations on behalf of your business, and they should be made based on requirements dictated by the business for uptime and service availability. Include temporary, interim supporting equipment and other backup systems that will be required for the migration or as part of the contingency in the plan.
Finalize Purchases and Vendor Agreements
For Hardware, Software & Labor
Finalize all purchase quantities, delivery dates, agreements and contracts for hardware, software, and labor. Ensure everything that you are going to need for the migration as planned will be where it needs to be when it needs to be there. Ensure that vendors are on board, and contractors know exactly what they’ll be doing, when they’ll be doing it, etc.
Put staff contingencies in place. People get sick, stuck in traffic, etc. Try to have a few variations planned. If you understand the ins and outs of your migration, it will be easy to rearrange a few operations without going off.
Run Pre-Migration Tests and Validate Targets
There’s a lot of testing to be done before migration day. Hopefully you’re just updating to newer versions of similar hardware. Every so often, there can be cases where similar or “compatible” hardware doesn’t exist anymore, especially if your migration is dragging legacy systems around.
Now, and not during the migration, is the time to run pre-migration tests and related tasks and validate migration targets. You can pre-order a small-scale setup (a single server, an example or two of the new switch, router, or access point, etc.) and test it ahead of time. Put a test case into “production” in your current data center well in advance of the move. You’ll gain valuable experience for migration day, proof, and ‘burn in’ the new hardware all in one fell swoop.
For migration processes, devise solutions and test them out locally. You do not want to find out six months after migration that a customer database that appeared to migrate successfully only migrated names, but not customer contact info! Vet the migration independently, and work tests into the plan.
Come up with the procedures ahead of time, test them, and validate them. Use the same validation methods you devise during testing to validate the live migrated data. Come migration day, it’ll be too late.
See you soon for our fourth entry in the series: “The Migration.”
Sources / References:
- Best Practices for Data Center Migration
- 5 Major Challenges of Data Center Migration
- 5 Data Center Migration Best Practices
- A Migration Checklist to Mitigate Risk
- How Cisco Plans and Executes a Large Data-Center Application Migration
Editor’s Note: This post was originally published in March 2017 and has been updated for accuracy.


